Pour-over is the method most people picture when they think of specialty coffee: a cone-shaped dripper, a filter, and a slow, deliberate pour. It rewards attention more than any other home method, but the steps behind it are simple once you understand what each one is doing.
Setting your dose and ratio
Start by weighing your coffee rather than scooping it. A kitchen scale removes the single biggest source of inconsistency between one cup and the next. A common starting point is a ratio of about 1 gram of coffee to every 16 grams of water, sometimes written as 1:16. For a standard 300 gram cup, that works out to roughly 19 grams of coffee.
This ratio is a starting point, not a rule. If the result tastes weak or thin, use slightly more coffee for the same amount of water next time. If it tastes heavy or overly intense, use slightly less. The full range most home brewers settle on falls between about 1:15 and 1:17.
The bloom: why the first 30 seconds matter
Freshly roasted coffee releases carbon dioxide when it meets hot water, which is why the grounds puff up and bubble in the first moments of brewing. This step is called the bloom. Pouring a small amount of water, roughly twice the weight of the coffee, and letting it sit for 30 to 45 seconds lets that gas escape before the main pour begins.
Skipping the bloom does not ruin the coffee, but it makes extraction less even: the escaping gas pushes water away from some of the grounds during the main pour, so those grounds contribute less flavor than the rest.
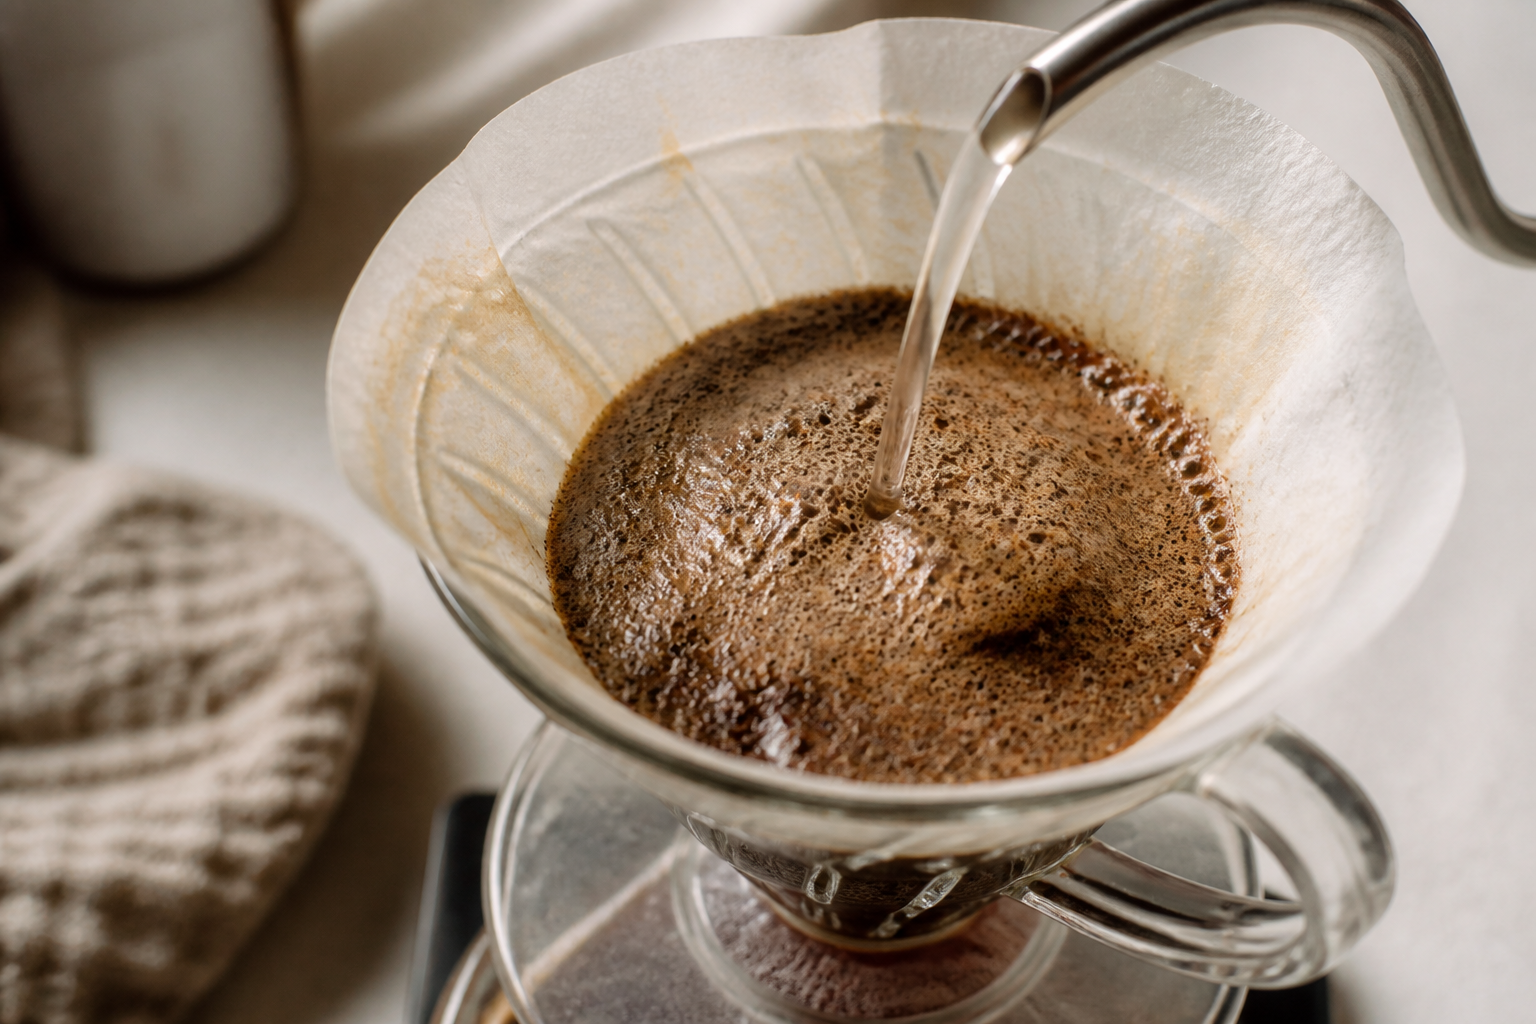
What to look for
Fresher coffee blooms more visibly, with more bubbling and a rise in the grounds bed. Coffee that has been roasted for several weeks or longer will bloom more quietly, which is expected and not a sign of a problem.
The bloom is not decoration. It is the moment where uneven degassing gets sorted out before it can uneven the rest of the brew.
Reading note
The main pour
After the bloom, pour the remaining water in slow, controlled circles, working from the center outward and back, while keeping the water level in the dripper fairly steady. Most pour-over recipes finish the total pour somewhere between 2 and 3.5 minutes from the start of the bloom, though the exact time depends on your grind size and dripper.
A pour that is too fast tends to under-extract, since water rushes through the grounds without enough contact time. A pour that is too slow, or a stream that is too thin, tends to over-extract the coffee it does touch and can leave a bitter edge.
| What you notice | Likely cause | What to try |
|---|---|---|
| Brew finishes very quickly | Grind is too coarse for the dripper | Grind slightly finer next time |
| Brew drags on well past 4 minutes | Grind is too fine, or filter is clogging | Grind slightly coarser, check filter fit |
| Cup tastes thin or watery | Ratio is too far toward water | Increase the coffee dose slightly |
| Cup tastes harsh or bitter | Over-extraction from a slow, uneven pour | Pour more steadily, check grind is not too fine |
Common mistakes and their fixes
Most disappointing pour-over cups trace back to one of three things: an inconsistent grind, a rushed or uneven pour, or skipping the bloom. Fixing one variable at a time, rather than changing everything between cups, makes it much easier to work out what actually caused a change in taste.
Where to go next
Grind size and dripper shape both affect how long a pour-over takes to drain, which is covered in more detail in the grinding section. Getting the ratio right matters just as much as the pour itself, and is covered on its own page.